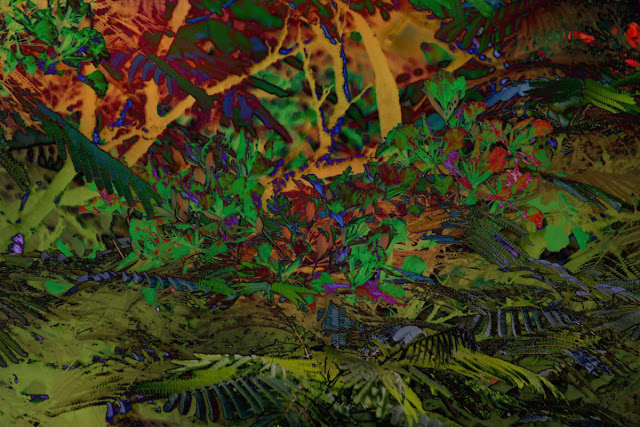
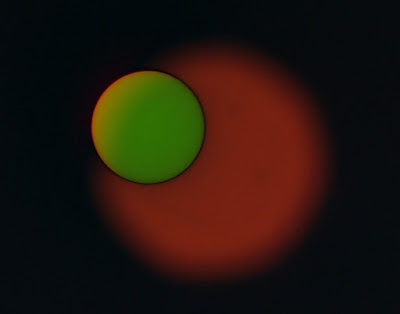
How to remove or at least reduce light pollution is a frequently asked question. The "Blur and Subtract" technique is a process which I use to reduce light-pollution on my astro-photography images. I live in an urban area and the skies are never black. Of course the best thing is to travel to a darker place, but most of the time that is not possible. I wanted to have a quick method to remove some of the light pollution without working too much on the computer. As it turned out this method provides very interesting results in both daylight and night photos.
The name of the technique "Blur and Subtract" speaks for itself and has three major steps:
- Take your desired photo (Photo 1)
- Take the same photo but use manual focus to blur the image as much as possible (Photo 2)
- Subtract (Photo 1 - Photo 2)
That is all, but if you are not familiar with any photo processing software continue to the detailed tutorial or watch this two minutes demonstration video.
Why the "Blur and Subtract" method reduces light pollution?
This method works well for light pollution since in Photo 1 the focus is usually set to infinity and in Photo 2 it will be set to just to a few cm, diffusing every star but the brightest into the background. Subtracting the background (Which is usually yellow/brown/green) will give a black background with the original stars. If you forgot to take photo 2 you can use the Blur function in a software but I think that taking a second photo is a better approach.
This method turns the following photo - Iridium Flare in Corona Borealis (Northern Crown)
 |
| Iridium Flare in Corona Borealis - With light pollution |
 |
| Iridium Flare in Corona Borealis - Light pollution removed |
But you can use this method even if you include terrestrial objects and even in daylight. Strong lights will diffuse but will still be noticeable and the entire image will look surrealistic.
Here is an example. What we see here is an Iridium flare near the constellation Cygnus (Swan), and the entire summer triangle including Vega at the top and Altair at the bottom-right. The photo was taken with a wide lens (16mm). The method will work better for longer focal lengths as the change of the focus will diffuse the strong lights better.
 |
| Photo 1 - proper focus |
This is the second photo. The flare is already gone which is even better for us (it improves the subtraction). The stars disappeared (except the really bright ones) and the city lights looks bigger.
 |
| Photo 2 - Focus to nearest point possible |
And this is the result of the subtraction and some other processing. You might need to tilt the monitor a little bit and since it is very black a good quality monitor is required.
I applied some more fixes to the photo such as:
- Remove the diffused bright stars (Vega and Deneb) - Single click of the Spot Heal tool around each star.
- Remove the strayed light in the bottom-right caused by forgetting to cover the eyepiece during the long exposure - again one of the Heal tools did the trick.
- Many crops (just the flare, just the summer circle, just the flare and the buildings, etc.) but here I show the full image.
The sky is much darker and probably some faint stars are not shown (more fine tuning in software is possible if you desire), but what is more incredible is what happened to the buildings.
Detailed Tutorial
If you need an online free tool for this purpose you can use Pixlr. Here are the exact steps. The steps are identical for other software such as Photoshop or Lightroom but not everyone has them. Pixlr is a strong free alternative and has many features. However it might reduce the resolution of the image (There is a stronger desktop version but it is not free to use).
1. Browse to pixlr site, choose "Open image from computer" and select your first photo (the photo with the correct focus).
2. The photo will appear on the screen. To open the second blur photo (Photo-2) as a new layer, go to the Layers menu and choose "Open image as layer", select the second photo.
3. Check the layer window and press the "Toggle layer setting" button as displayed in the image below. This displays a dialog box with the options we need for the subtract operation.
4. In the mode option choose "Difference".
5. That's it. If you need to process the image further, do it now or simply save your file with a new name as a JPEG or preferably PNG file.
More examples
Detailed Tutorial
If you need an online free tool for this purpose you can use Pixlr. Here are the exact steps. The steps are identical for other software such as Photoshop or Lightroom but not everyone has them. Pixlr is a strong free alternative and has many features. However it might reduce the resolution of the image (There is a stronger desktop version but it is not free to use).
1. Browse to pixlr site, choose "Open image from computer" and select your first photo (the photo with the correct focus).
 |
| Open Pixlr site |
 |
| Choose open image as layer |
 |
| Press Toggle layer setting button |
 |
| Choose "Differnce" as mode |
 |
| Save the result file |
More examples
Here is another example. The time is just after sunset but skies are still blue. Here is the result after I cropped most of the sky.


